- Home
- Activities
- Clay Ornaments
Clay Ornaments
Description
- Air Dry Clay is an easy medium for all kids to work with. Mold and shape and use water to join and smooth pieces. No need for kilns or baking, simply air dry and paint with your choice of tempera, acrylic or watercolor.

Materials
- Crayola Air Dry Clay (recommended)
- Cookie Cutters
- Stamps (see our recommendation in Tips and Suggestions)
- Beading Wire (18 gauge is the one used in this project)
- Beads
- Paint, tempera, acrylic or watercolor
- Small sponge or brush
- Acrylic spray
Other Materials
- Cookie sheet or cutting board sheets to work on
- Small Rolling Pin
- Coffee Stir
- Small dish of water
- Waxed Paper and cookie sheet to dry on
- Jewelry cutters helpful if using wire to hang.
- Pencil (we coiled the wire around pencil)
Steps
- Remove some clay from the container. You may need a butter knife to remove some. Roll into a ball and press onto flat surface.
- Roll flat with rolling pin by putting pressure on the middle and rolling rather than holding onto the handles. This clay is a little hard so it will require adult assistance.
- Roll to about 1/4 inch thick.
- Press cookie cutter into clay. Peel clay around the cutter and then lift cutter. Press clay gently out of the cutter.
- Poke a hole on each side with coffee stir.
- Select stamps and press gently into clay.

- Line cookie sheet with waxed paper and lay shapes on it to dry. Drying time is about 3-4 days.
- Paint with sponge or brush. We used watercolors in tubes and only lightly dampened the sponge. We cut a 1/2 inch rectangular piece of sponge to use.
- When paint is dry, spray with Acrylic spray to seal and add shine. (Adult step)
- Tie with ribbon or wire. Cut wire extra long if you plan to coil. We used a pencil to make a few coils. Add beads and string through the hole and bend wire to secure
Tips and Suggestions
- Wire comes in different gauges and colors. The larger the gauge, the smaller the diameter. That means that 22 gauge wire is not as thick as 18 gauge wire.
- Roll the roller part of the rolling pin on the clay rather than using the handles on the side. The pressure on the main roller helps.
- Any stamp can be used however we liked using the Clear Stamps you place on reusable Clear Blocks. See our links below. Being able to see through the block made it easy for the girls to see where the stamps would make an impression. Great for other toddler activities as well.
Educational Tip
- Cut out shapes using cookie cutters such as squares, circles and triangles. Paint and discuss size, shape and color
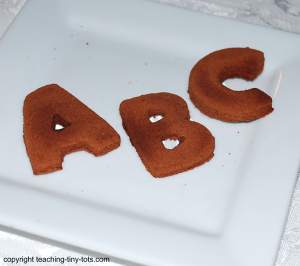
- Using either cookie cutters or free form, make letters of your child's name
Other Ideas
Here are some free form polar bears made by my daughter's class. Each bear was mounted on a piece of styrofoam to create this display for the art show. It was a really eye catching display!


If you are looking for similar ideas...check our our Cinnamon Dough Recipe. The fragrance is amazing and lasts!
Recent Articles
-
Paint a Pet Rock
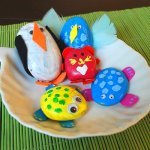 Paint your own Pet Rock
 -
Home Lunch Ideas for Kids
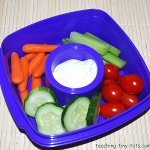 Home lunch and Snack Ideas for Kids
 -
Dirt Cake for Parties
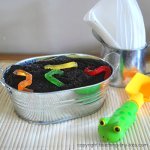 Dirt Cake for Parties
 -
Carnival Games for Kids
 Carnival Games for Kids
![]()
Copyright© 2025 teaching-tiny-tots.com.